Category Archives: Yumyumy

The following category covers such topics as food/cuisines, ingredients/methods (recipes) and food in general. Yummyummy!

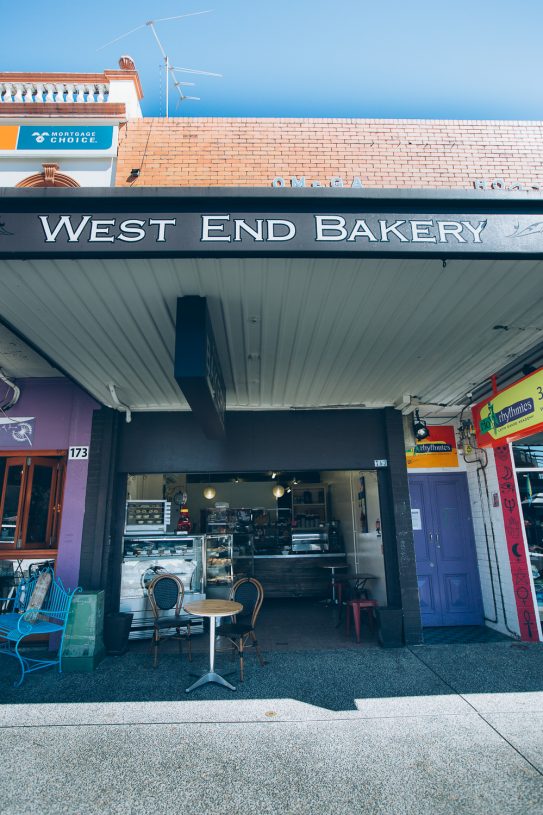
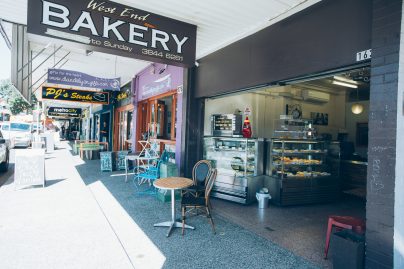
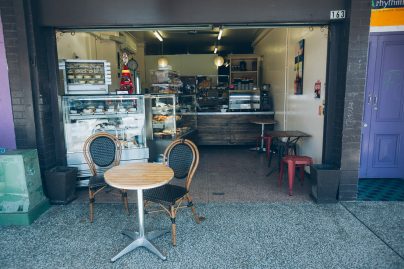
West End Bakery – A real taste of France

West End Bakery – A real taste of France

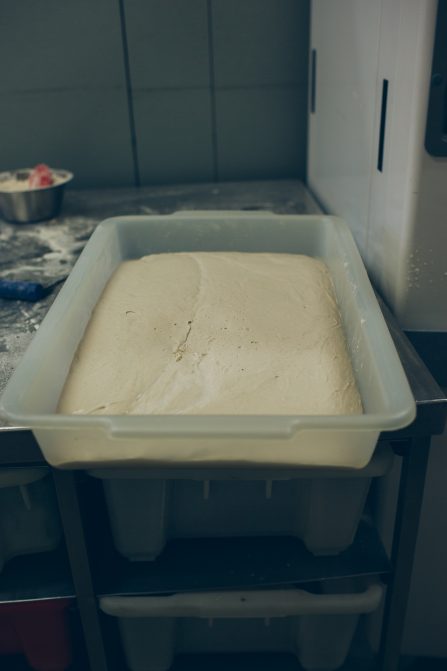
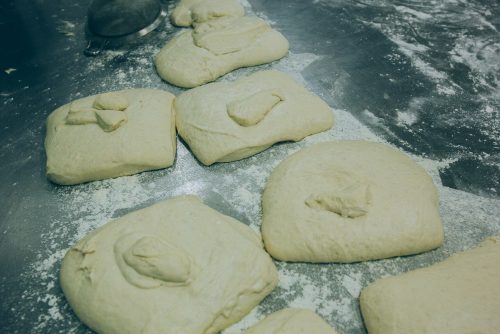
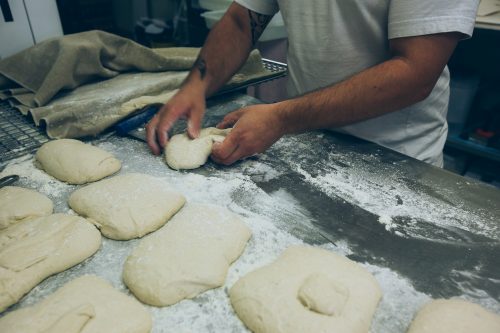
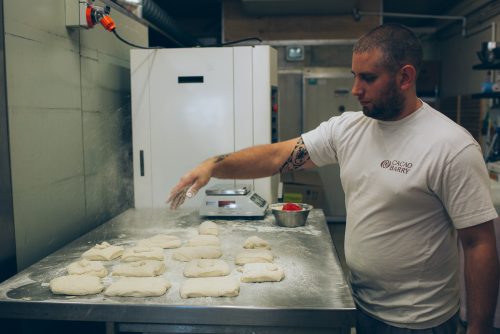
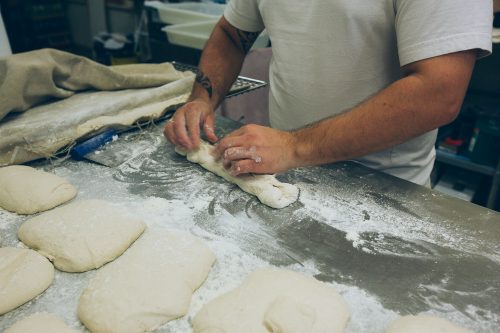
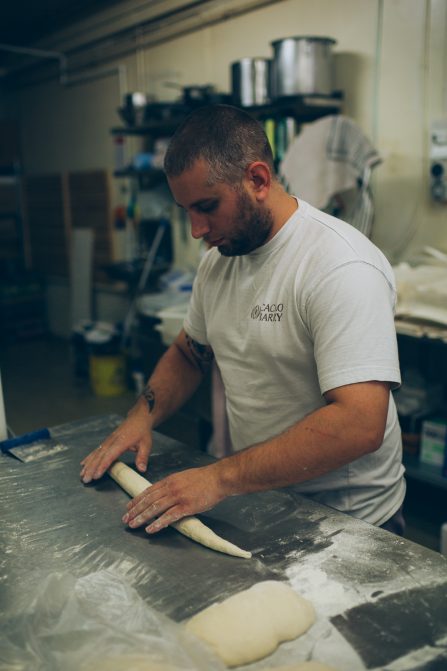
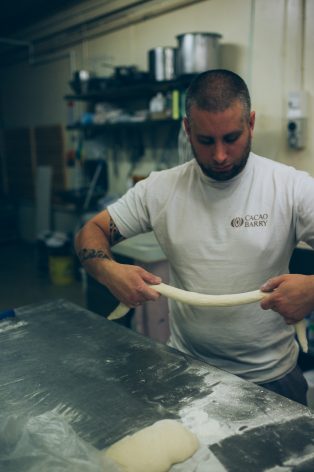
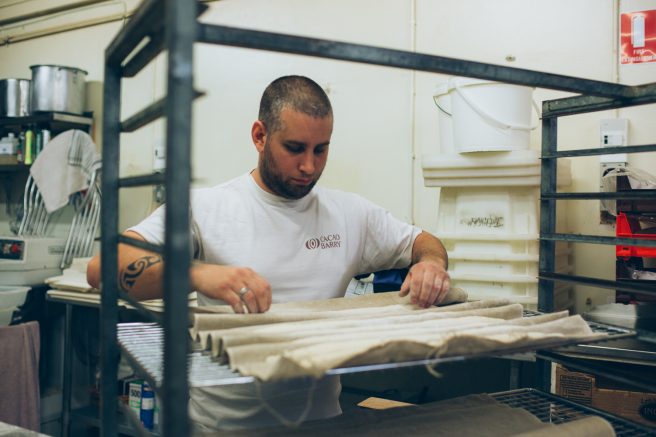
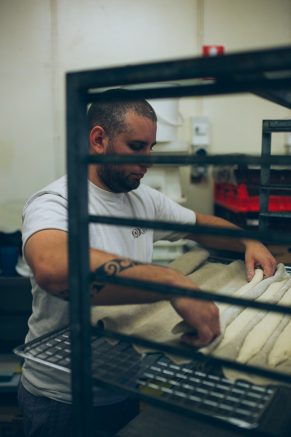
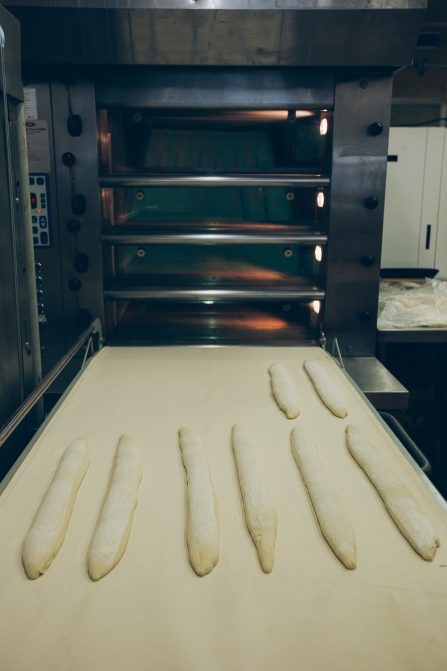
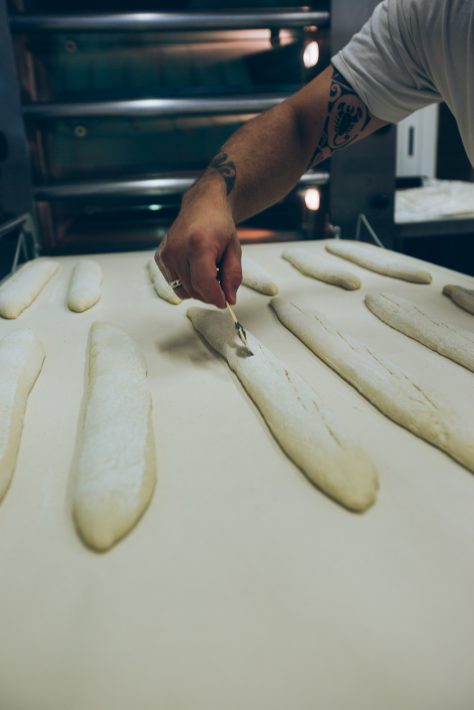
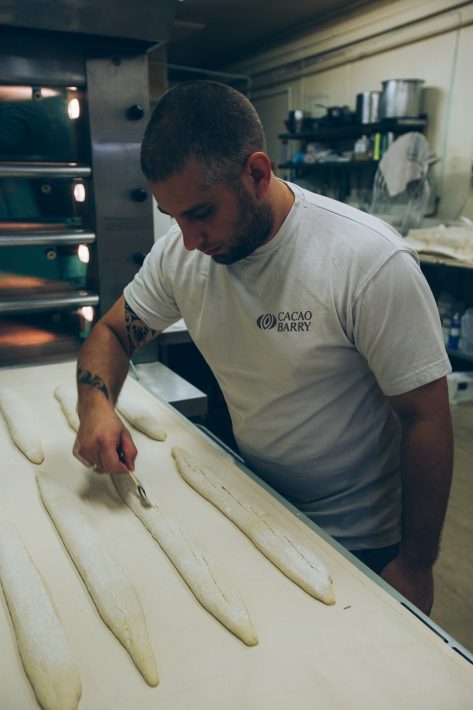
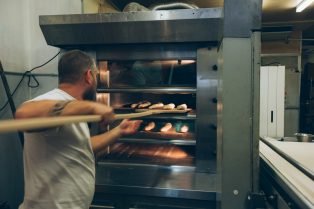
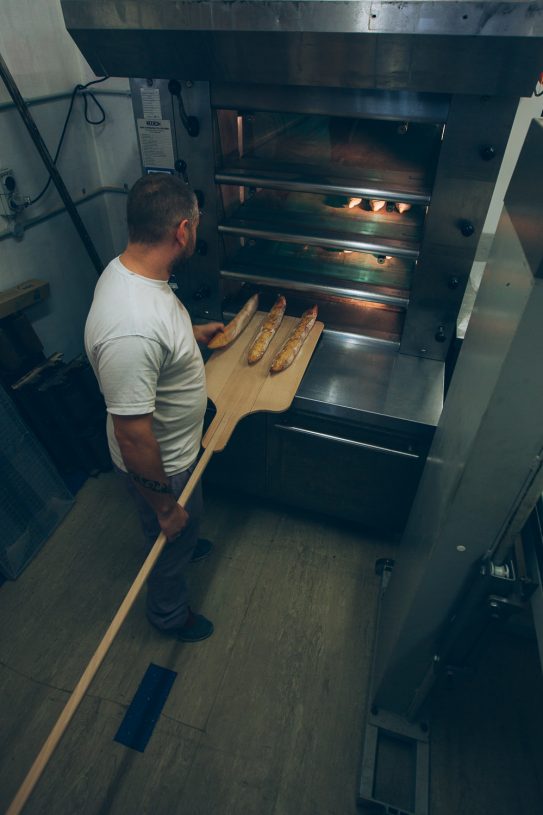
West End Bakery – A real taste of France has finally arrived in Brisbane! My good friend Frédéric Bossenmeyer and his father Didier are 3rd and 2nd generation pastry chefs and bakers respectively from Strasbourg, France. Together they are owners/operators of the West End Bakery and Oxford Street Bakery (Bulimba) both located in the heart of West End and Oxford Street. Fred’s grandfather, Pierre Bossenmeyer, was first generation pastry chef and baker and ran the original family business from 1949 to 1990. Fred and his father share over 53 years experience working in boulangeries (bakeries) in France and Australia.

You don’t need to be a genius to work out that Fred is passionate about fine patisserie, decadent cakes and classic, rustic breads. This aficionado, eats, lives and sleeps handcrafted bakery goodies. Since his early childhood, he dreamt of owning his own shop when he saw his dad and grand-dad working at the family bakery. He started his apprenticeship back in 2002 in France and has since worked in the best bakeries around Brisbane.

Fast forward to 2015 – Fred now takes great pride in serving some of Brisbane’s finest cakes, patisseries and breads. You only need to see the attention to detail, and taste the delights that come out of their bakery to understand that you are being taken back to another place and time.

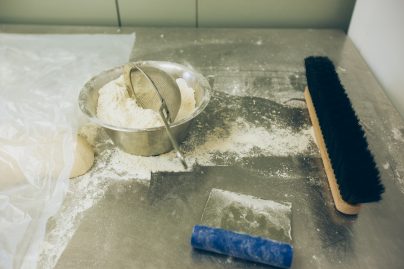
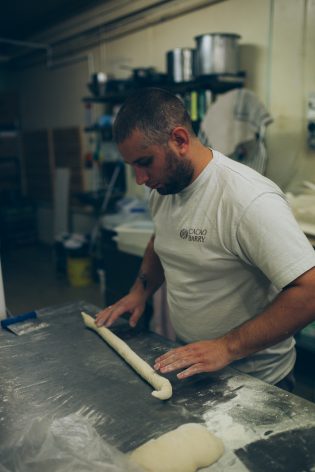
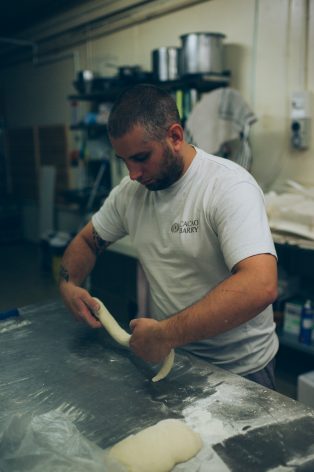
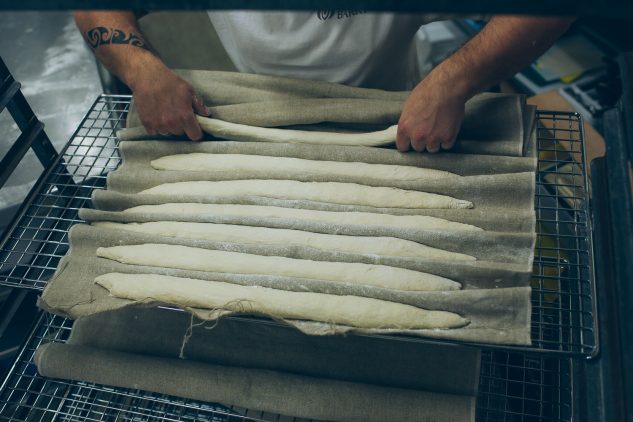
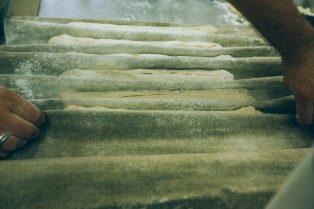
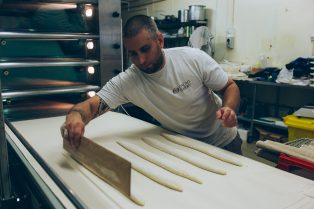
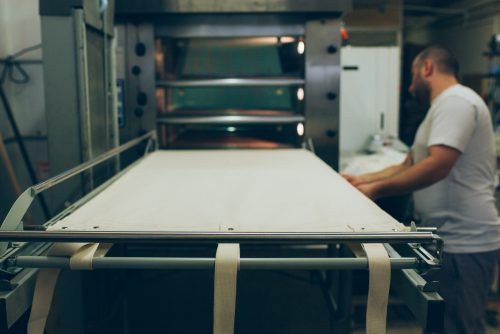
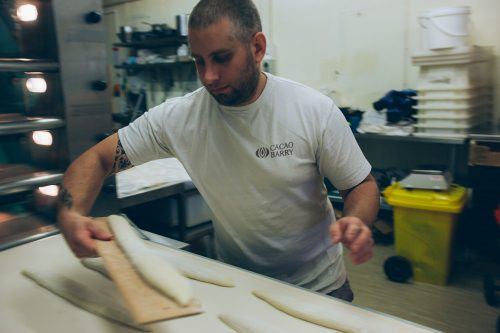
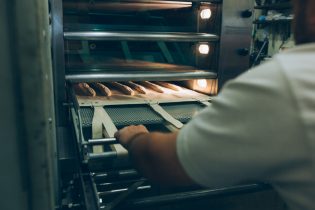
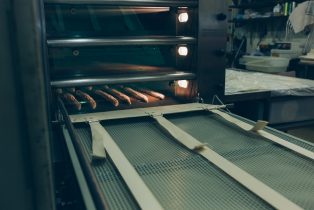
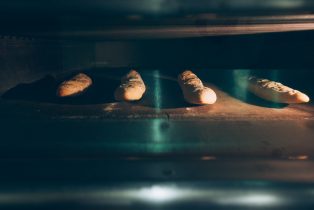
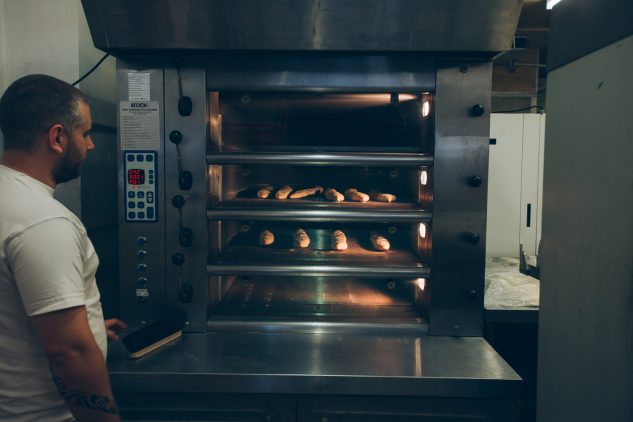
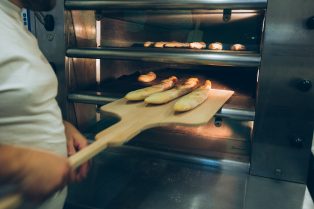
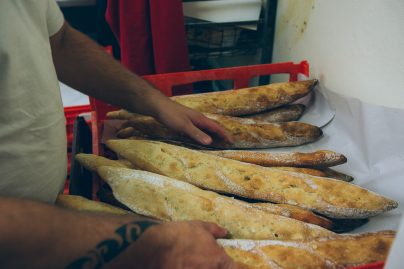
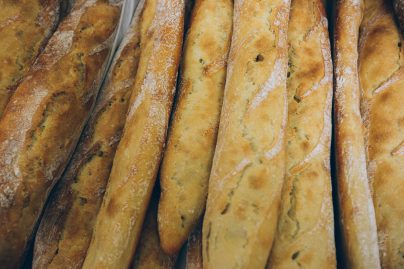
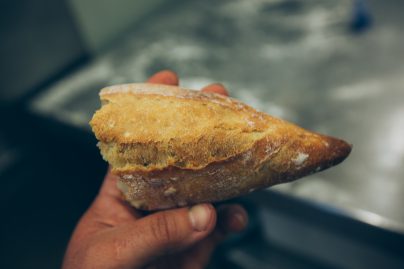
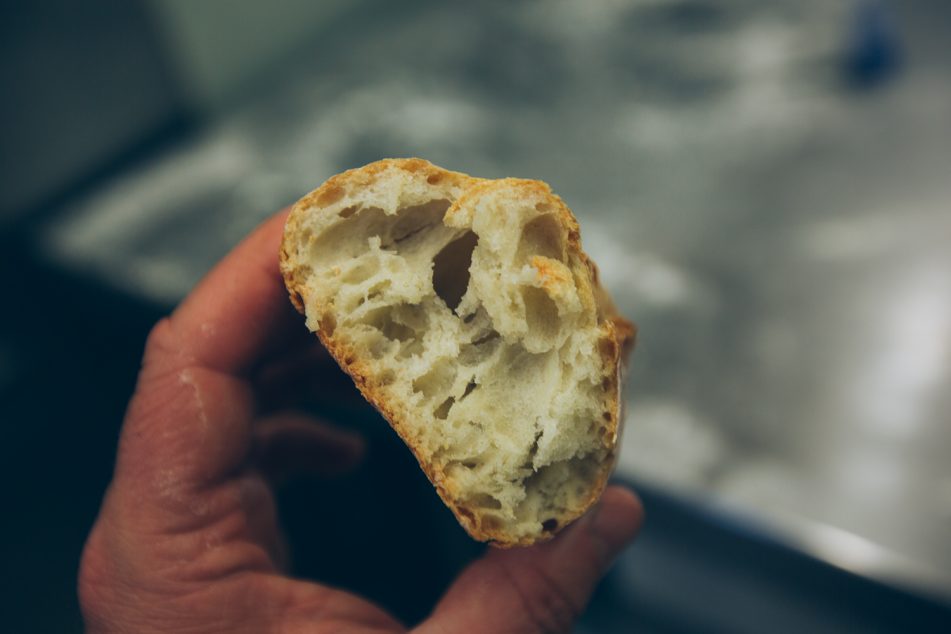
They are also the proud owners of an authentic French Bongard gas oven and make the most authentic French artisanal baguettes in Brisbane – all handmade the traditional way, crunchy on the outside and soft in the middle. Check out the photos and see for yourselves! Oh, he even uses flour imported from France!

[rescue_column size=”one-half” position=”first”]

West End Bakery

2/163 Boundary St,
West End QLD 4101
(07) 3844 6261

[/rescue_column][rescue_column size=”one-half” position=”last”]

Oxford Street Bakery

153 Oxford Street,
Bulimba, Brisbane, QLD
(07) 3399 2018
 [/rescue_column]
Grill on wheels

Grill on wheels

Grill on wheels

Grill on wheels – if you Google these words, you’ll probably end up seeing some hotted up cars with big fat “grills” and massive shiny rims. If that’s what you were looking for, then I congratulate you.

On the other hand, if you were looking for something to roast meat on, that has a certain level of mobility then you probably ended up here.

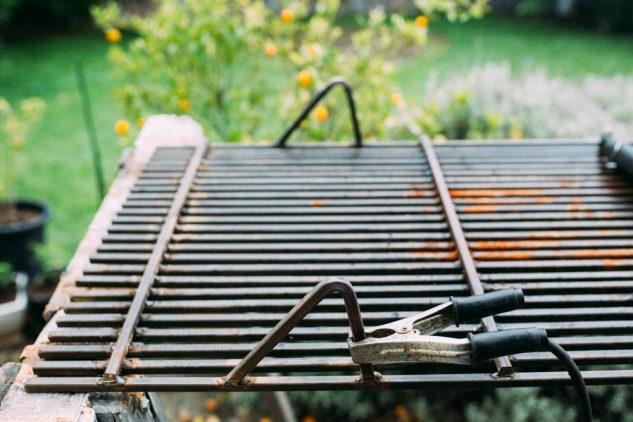
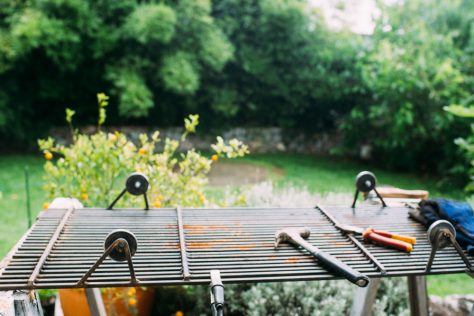
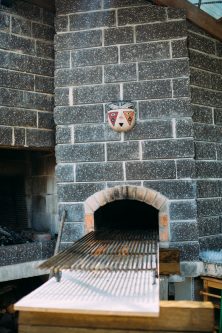
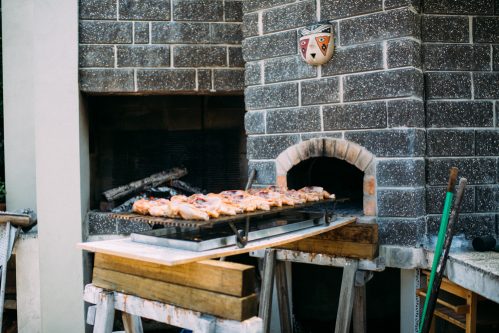
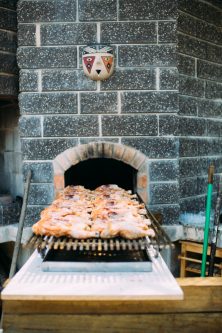
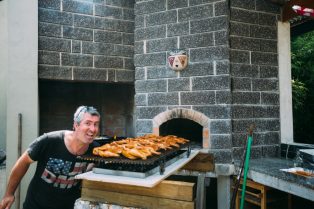
The grill on wheels was an idea that came to me after I made a grill for the WFO that I used for roasting a pig in the WFO. When I pushed the grill into the oven, it scratched the surface of the bricks and made my teeth grind at the same time. So I came up with this simple idea to easily insert and extract the grill from the wood fired oven.

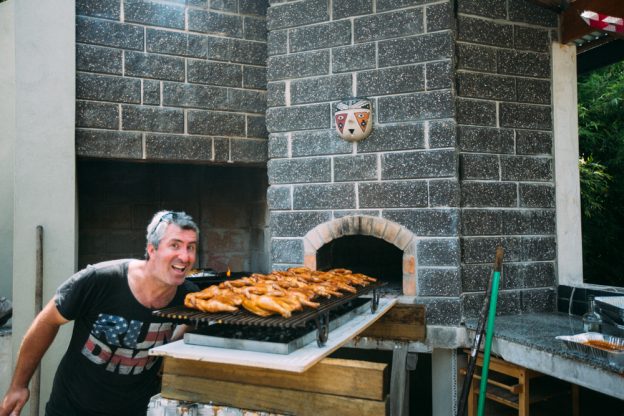
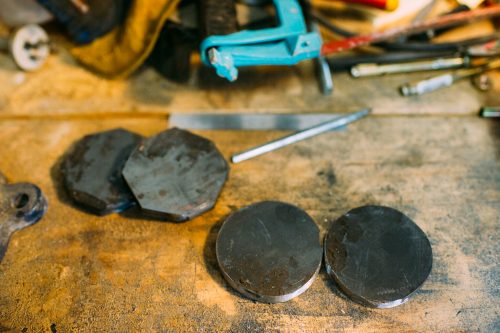
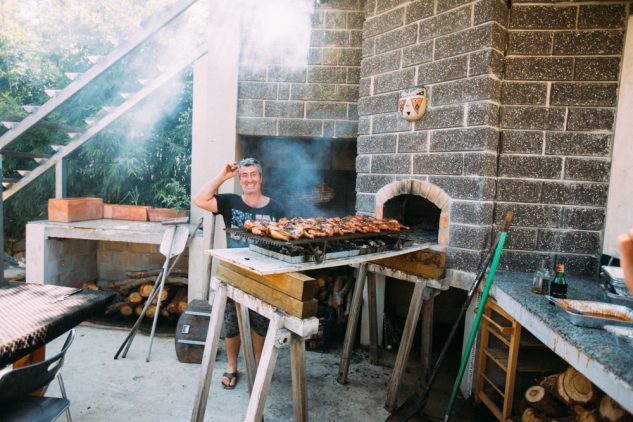
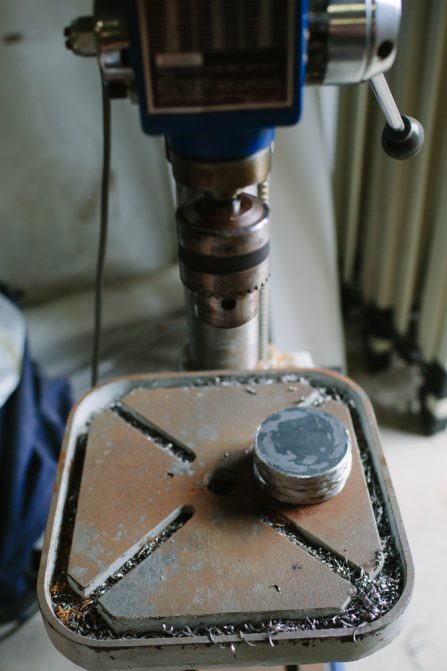
The wheels are made from solid steel flat bar that I cut into squares, then transformed into circles. They are attached to the grill by bolts that were welded to the grill’s ‘feet’. If you have mild steel square bar (10mm x 10mm), some flat 10mm x 75mm bar and 4 M10 nuts and bolts (and know how to weld), then the grill on wheels concept is quite easy to put together. Here are some photos showing the build process  and then the grill on wheels put into action. I certainly hope you enjoy these, as much as I enjoyed eating the Peruvian charcoal chicken that came out of the oven!

Giving the pig some TLC

How to roast a pork in a wood fired oven

How to roast a pork in a wood fired oven

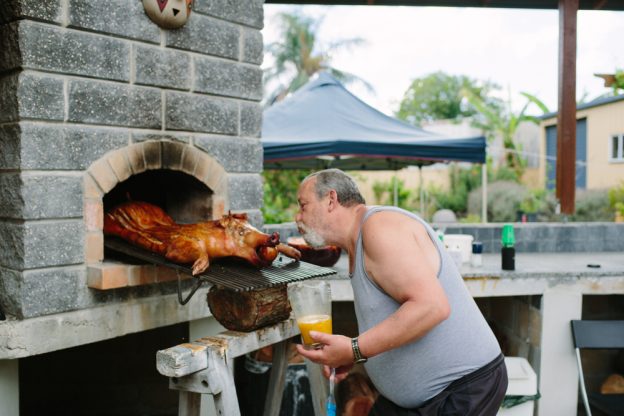
How to roast a pork in a wood fired oven you ask? Well this was my first attempt at roasting a pork in my wood fired pizza oven. I had seen pork cooked in a bakery oven in Cuba previously and I had cooked a few pigs on the spit but never in my pizza oven.

I have to admit, I don’t want to blow my own trumpet but it came out pretty damn good!

I do have a few guidelines that I’d like to share with you, this is based on my personal experience and on articles I read on other websites.

Continue reading

How to make homemade grape juice

How to make homemade grape juice

How to make homemade grape juice a quick tutorial by Henry Gomez.

The Indian Myna bird has successfully managed to shoot to the top of the list of animal pests introduced in Australia – way past cane toads, rats and stupid neighbours. This year, I had to pick the grapes off my muscat vine earlier than I would have liked to because those birds were gorging themselves on my fruits.

Once I collected the grapes off the vine, I was ready to make Moût. I recall as a child after the grape harvest in Geneva ,they would sell grape juice at La Migros and La Coop, it was great and that is when I may have developed my love for red wine.

Over the last couple of years, I used to pluck each grape individually off the bunch to make juice, but I have since talked to a friend who suggested I try this technique:

The method:

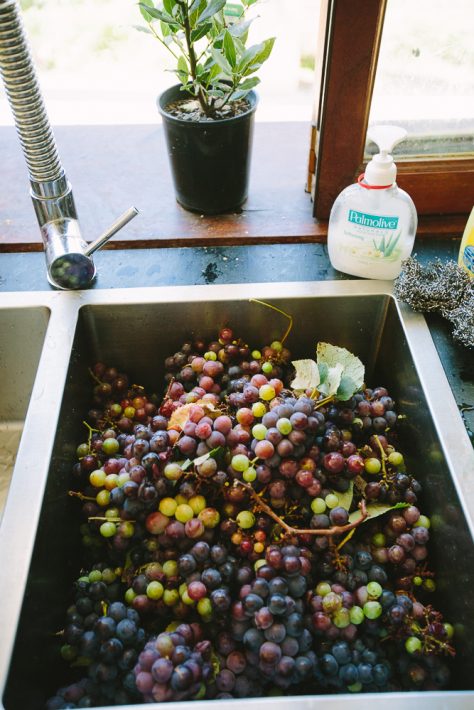
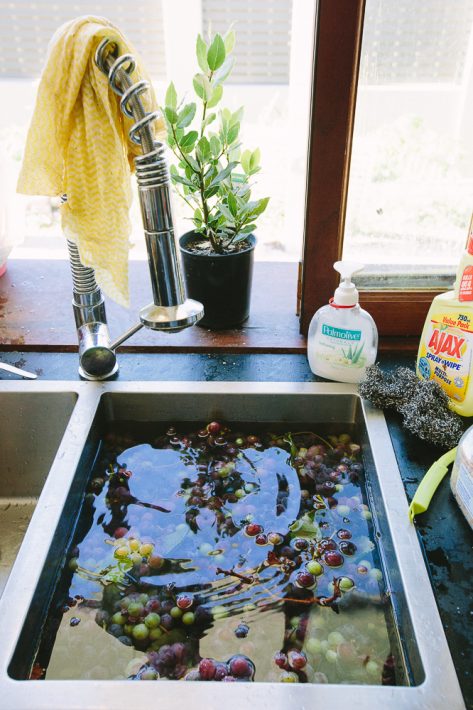
1) Wash all of the grapes thoroughly in a large container or in your kitchen sink. Remove any leaves, twigs and sticks etc…

2) Dry the grapes (only kidding)

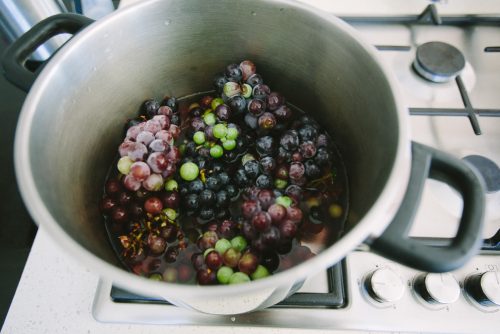
3) Place the grapes in a pot with boiling water. I fill the pot approximately 3/4 of the way up – if you use too much water, it’ll boil over and make a jolly good mess.

3) Boil the grapes until they become soft and fall off the stem on their own – this usually takes around 30 minutes. Your kitchen will light up with deliciously sweet fragrances…

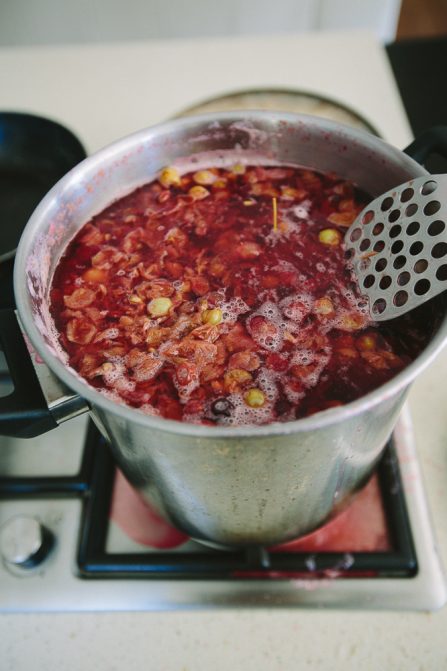
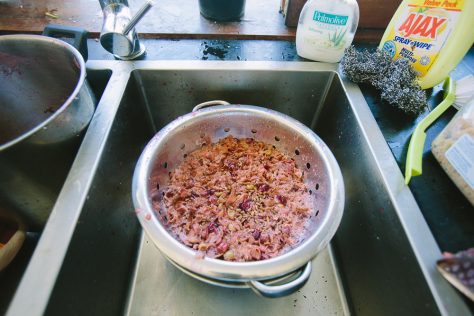
4) Place the grapes in a colander and squash them till you only have seeds, skins and stems left – make sure you place a container under the colander to catch the grape juice!

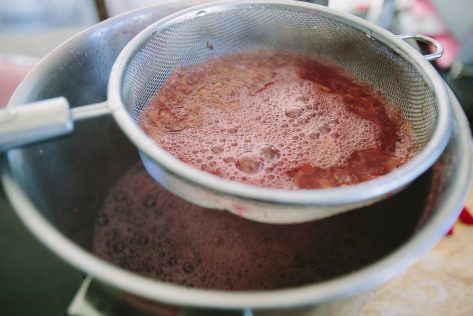
5) Repeat this step a couple of times with the colander, and then again with a strainer.

6) You can put the juice in a jug or storage container like a used Coke bottle and add sugar to taste.

This juice can be placed in the fridge once it has cooled down. It is a refreshing beverage in the morning, full of vitamins and anti-oxidants. The only downside is there is no alcohol content.

:(

Check out the deep, dark purple colour. It reminds of a bottle of Grenache I shared with Michel Blanc at Chateau-Neuf-du=Pape in 2007, or was it 2006??

Brisbane woofired pizza oven – by Papa Gomez

Brisbane woofired pizza oven – by Papa Gomez

“…None of this thick carboard style, sausage and cheese crust filled, tasteless Frisbees they sell in franchise owned restaurants…”

So , you love pizzas, eh?

Well, what do you know?? So do I!!! As a matter of fact, pizzas are my favourite food group in the whole wide world… Not that I eat pizzas every day (I would if I wasn’t so conscious of my waistline), but I do have an enormous appreciation for a great rustic Italian pizza.

Roll the clock back to circa 1982, when my parents took me to a restaurant called “La Siesta” in Geneva. I had the Quattro Stagioni and automatically fell in love with the flavours and smell of pizzas, and more importantly those covered with anchovies and capers. I would probably get crucified in Australia for saying this (and I do apologise to my friends in advance) – I don’t believe in pizza toppings such as pineapple, sour cream, potatoes, minced meat and chicken. When it comes to pizzas, I personally believe in tradition and only vouch on Italian classics – including Margarita, Capricciosa, Napoletana, Marinara, Il Diavolo, Quattro Formaggi and of course my favourite. Thin crust with few, fresh toppings. None of this thick carboard style, sausage and cheese crust filled, tasteless Frisbees they sell in franchise owned restaurants.

Many, many years ago, I had this a idea of building my own woodfired pizza oven. I would use my hooded gas BBQ to cook pizzas (which worked much better than an electrical oven as it gave the dough a better flavour). I even bought a slab of granite and had it cut to size and polished so it would fit inside my BBQ – the granite started to show cracks after a few firings and didn’t work as well as I would have hoped. I also bought a few pizza stones. They were excellent as the porous surface absorbed the moisture from the dough and made the base crunchy. But ultimately, I knew that no other cooking implement would beat that of a traditional wood fired oven…

It was really worth all the effort building the oven!!

It was really worth all the effort building the oven!!

And that is how my mission began… (I will be adding more photos to this gallery over time as I continue and complete this project.) I should also show my gratitude and thank fornobravo.com for their oven plans and extremely helpful instructions.

Oh and I almost forgot – I could not have done this without the physical help of Fred, Vitaly, Koray and the Russians, and the motivational support of my beautiful wife Letty. Thank you so much guys!!