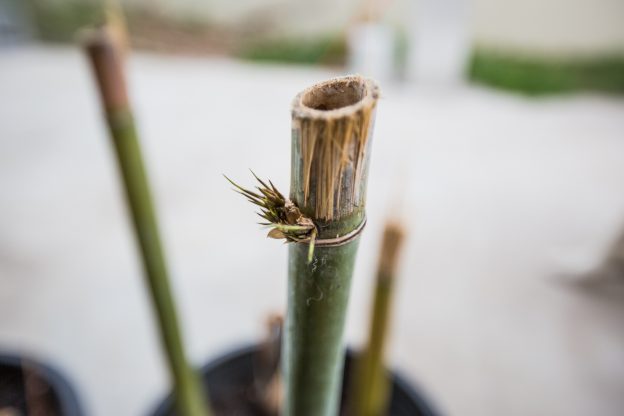
“…and forms an excellent hedge for privacy, noise and pollution (such as smoke, dust, bad jokes and farts)…”
Dear reader, if you are after detailed instructions on how to successfully propagate Gracilis bamboo from cuttings, this is the link you are after: How to successfully propagate Gracilis bamboo from cuttings as I have managed to grow new Gracilis from cuttings after numerous trials. The instructions in this page were not that good and the rate of success was none.
Or you may like to read the entire Vicacinus story and ongoing saga at: this new site dedicated to stupid neighbours.
When dealing with plants, it is nice to know their latin name as they are broken down from the plantae kingdom into orders, families, genii and species. A similar principle can be applied when dealing with certain idiotic, intolerant and repulsive human lifeforms.
I hereby coin the term: “Vicasinus” – meaning stupid neighbour. From the latin: Vicinus Asinus (or Vicinus Plumbeus) – both correctly and adequately describe one of these.

Vicasinus – donkey next door
Definition:
VIC·AS·IN·US /vikasinas/
Vicasinii, plural
Adjective: A neighbour performing the act of being an ass.
Noun: A neighbour who acts like a donkey.
I assume that by this point you are most probably asking yourselves, what do stupid neighbours have to do with the propagation of bamboo (and Latin)? Well, since my vicasinus was taking photos of me from his mum’s kitchen window, I suddenly felt compelled to look at ways to remedy a rather obscure, creepy and sinister behaviour. Local council regulation restricts fence heights to 2.0 metres, and since their window sits higher than 2.0 metres above ground, I had to find a better solution than a high fence (mind you, the fence is now 2.2 metres high).
Enter Bambusa Textilis Gracilis – a fast growing, clumping variety of bamboo (also known as a slender weaver for its gracefully thin aesthetic appearance). It grows to around 6.0 metres in height, and forms an excellent hedge for privacy, noise and pollution (such as smoke, dust, bad jokes and farts). It provides shade, peace and tranquillity – a sense of zen. In addition, such hedges look contemporary and provide a little Asian flavour in your garden.
I’ve built a small raised garden bed around 70cm high and 1.2m wide (with the help of a couple of friends), to stop any unnecessary and unwanted root propagation. Although Gracilis is clumping, it does grow to a diameter of 1.2 to 1.5 metres. My hedge will be 36 metres in length so I will need approximately 30 plants planted at 1.2 metre intervals. Over time they will clump and blend rather nicely into one another.

Stone wall with fence and 75mm sleeper retaining wall

Hnawish working on the stone wall
To propagate Gracilis, you will first need to find some mature plants as they have the largest diameter culm. I got mine from my friend Ben who runs the local nursery Palms for Brisbane. He cut four mature plants using a curved hand saw and we were on our way. The steps to prepare the Gracilis are as follows:
1) Trim back any leaf nodes with a good pair of sharp secateurs – the leaves will die anyway.

Koray Trimming back leaf nodes
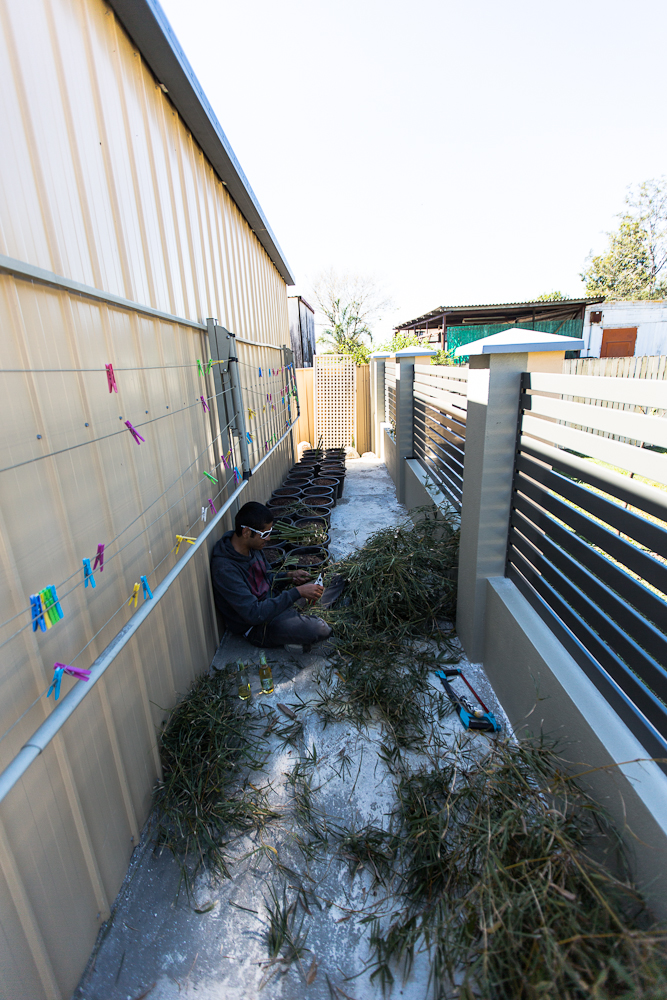
The leaves make a bit of a mess
2) Use a hack saw or sharp curved hand saw to cut the culm – starting below the joint (where the leaves come out of) and ending above the joint on the other side. The reason for this is that the plant layer where root growth takes place is between this joint and by cutting diagonally across, this layer is exposed.
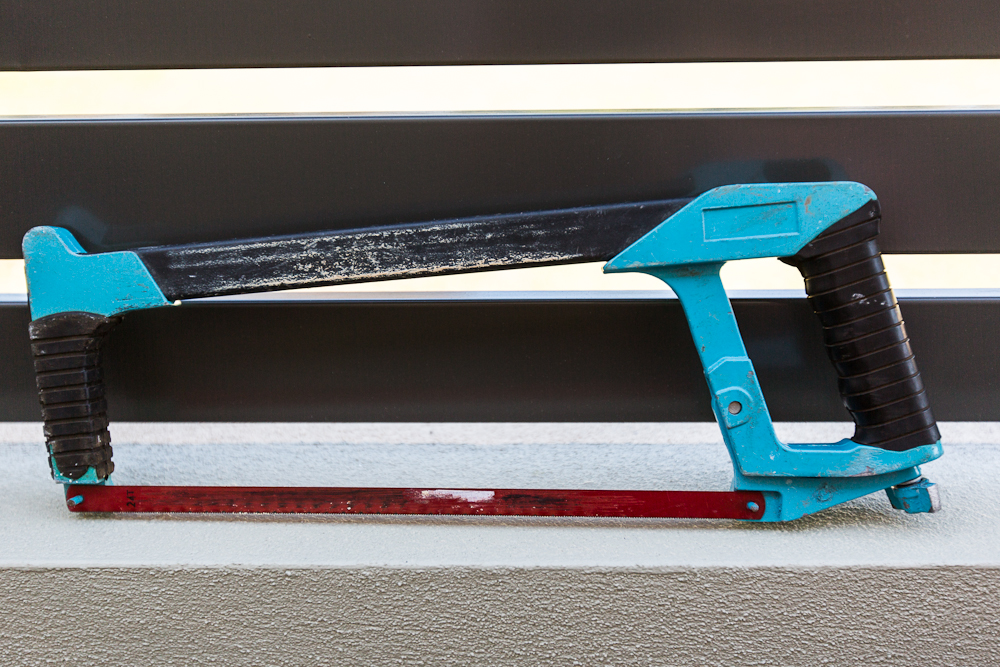
Trusty Hack Saw used to cut Bambusa Textilis Gracilis

Gracilis culms cut and ready for hormoning
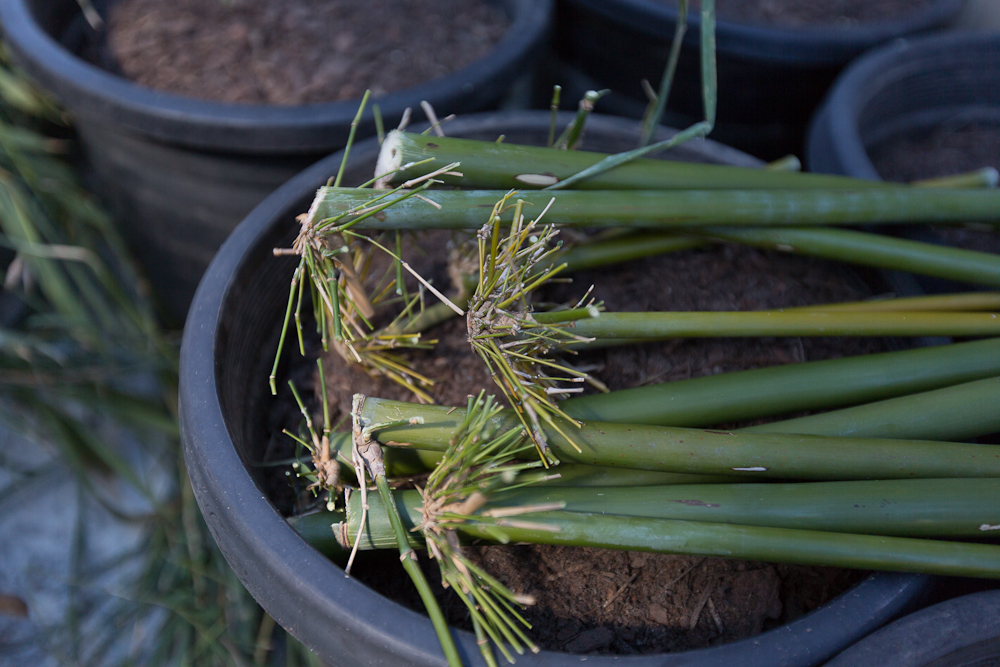
Trimmed leaves will die when placed into the potting mix
3) Prepare pots with potting mix. You could use smaller size pots, but I opted for 300mm pots as I will let the bamboo grow in these to a decent height. Also, you could put more than one single culm per pot and separate them at a later stage.
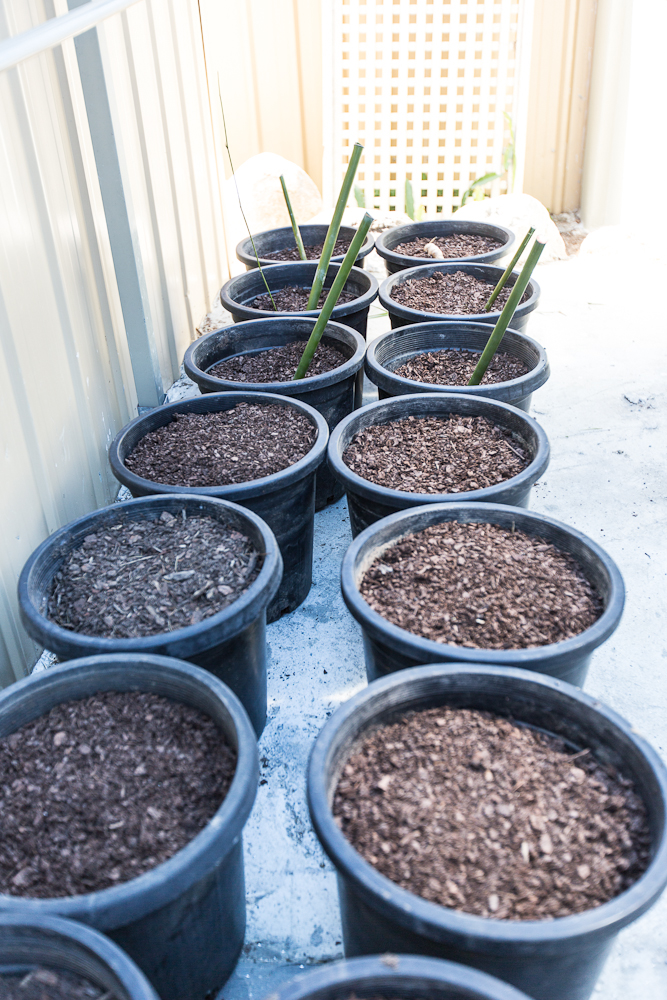
300mm plastic pots with potting mix
4) Get some medium rooting hormone (or honey works too) and apply to the culm where the cut was made. I made sure that the entire surface was well covered with the white powder. The active ingredient in butyric acid. I also applied a little beer to my lips to stop them from chafing.

Root hormone is applied to the cut surface of the culm

Culm with butyric acid applied for promotion of root growth
5) The culm is now ready to be planted! I stuck the culms into the potting mix at a depth of approximately 5 centimetres. Some of the culms wanted to tip over because of the loose soil – the watering stage was next and helps to compact the soil around the culm and keep it in its place.
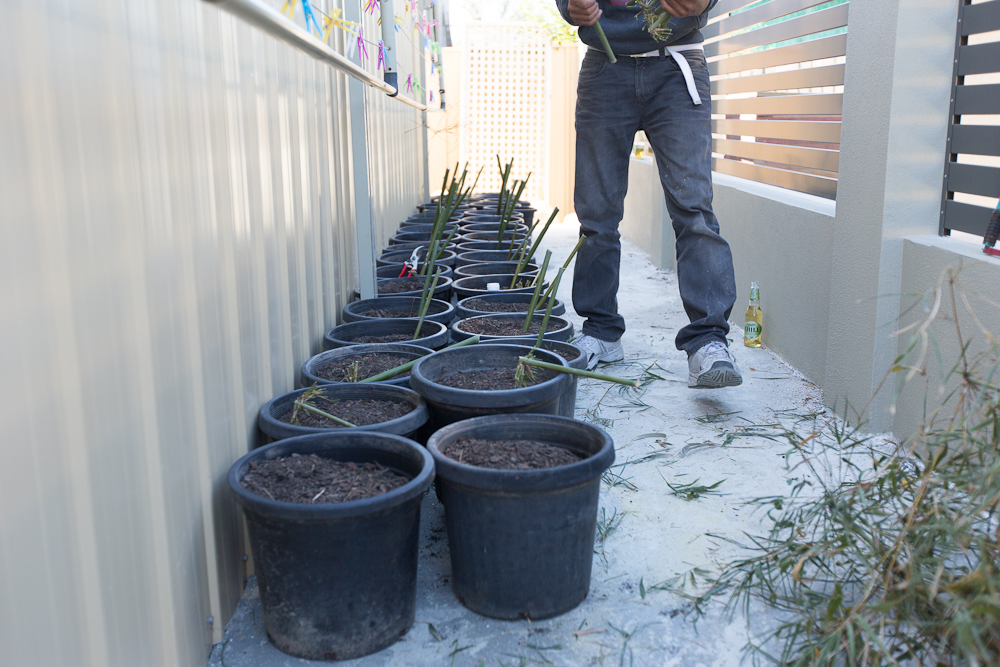
Bambusa Textilis Gracilis – ready for watering
So there you have it! 30+ pots of Gracilis planted… now we just play the waiting game and cross our fingers.The above plants were planted on this 8th day of September 2012 (first week of Spring in Brisbane). Ben told me to initially water them once a week and to keep them in a shady position, otherwise the culms may rot away if too much water is applied, and they may dry out too quickly if they are kept out in full sun.
Once the plants begin to catch on, water them twice weekly – they will appear dead before they come back to life again. Once the roots starts to develop, the plants become extremely thirsty and need regular daily watering for two months. You will then be able to add fertilizer into your potting mix – the plants don’t benefit from the nutrients until the roots have established. From what I am told it will take between 2 to 3 years for a plant to reach its full height. It is currently spring in Queensland, Australia, and the plants are thriving all around me. The bamboo will pause its growth pattern during the colder months but shoot up during the warmer months. I will touch base again in a few week’s time and post an update on the growth of the Bambusa Textilis Gracilis…
Continue reading →
